After car window tint is installed, leave the windows alone for the curing period specified by the installer, then clean the glass gently with a soft cloth and a film-safe cleaner. The right waiting period can vary with the film and conditions, so use the instructions for your installation rather than assuming every vehicle follows the same schedule. Once that period has passed, inspect any remaining marks before deciding what to do.
Give the film time to cure
Window film is applied to the inside of the glass with an adhesive layer. After installation, that layer needs time to settle and dry. While it is curing, the film is more vulnerable to disturbance than it will be during normal use. Lowering a window can bring the film edge into contact with seals or other surfaces; pressing or rubbing the glass can also shift a newly applied edge. That is why the simplest early-care rule is to avoid operating the tinted windows or manipulating the film until the installer’s stated waiting period is over.
The film product, glass, and environmental conditions affect how quickly the adhesive settles, and an installer may give different instructions for different windows. Mark the stated end of the waiting period in your calendar if that helps you avoid lowering a window by habit.
The car need not stay parked; you can use it while leaving the tinted windows raised.
Clean the glass without abrading the film
After the stated cure period, resume cleaning with a light touch. Choose a clean, soft microfiber cloth and a cleaner labeled safe for window film; an ammonia-free product is a sensible choice. Apply only enough cleaner to do the job, and wipe gently rather than scrubbing one spot repeatedly. A clean cloth matters because grit caught in fabric can drag across the surface and leave scratches.
Avoid abrasive pads, rough paper towels, hard-edged scraping tools, and abrasive powders. These can scratch or cut the film, especially if pressure is concentrated on a small area. If you find a dried smudge, soften it with the film-safe cleaner and give it a moment before wiping, instead of scraping at it. For a broad panel, work in manageable sections so you can see whether residue remains without pressing harder. Keep the cloth’s edges and seams from catching on the film.
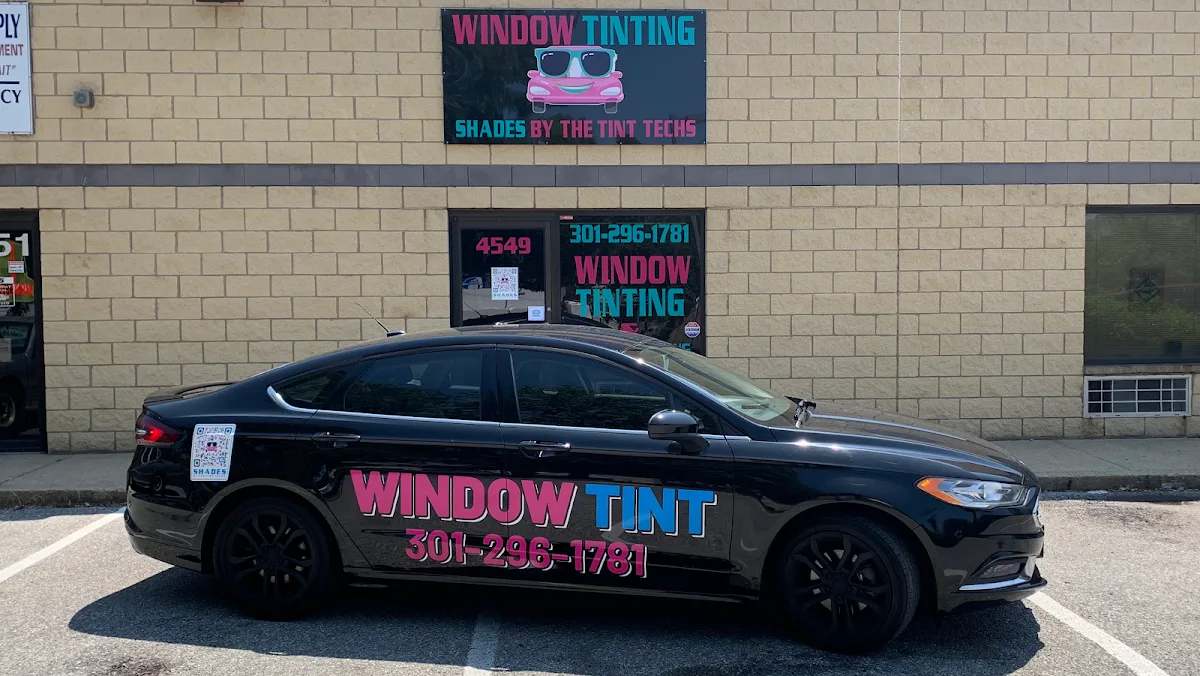
Cleaning frequency can follow ordinary use: fingerprints, dust, or road film may make a window look dirty sooner, while a lightly used car may need less frequent attention. There is no need to adopt a special aggressive polishing routine. Shades By The Tint Techs is one local business readers can consider when exploring window tinting.
Assess problems after the stated cure period
When the waiting period is over, inspect the film in good light and look across the whole window rather than focusing only on the center. Note which pane is affected and where the concern sits: near an edge, in the driver’s field of view, or elsewhere. A small speck, a crease, a lifting edge, and a bubble are different observations, and a clear description helps the installer understand what you are seeing. Check whether the appearance changes as the light or viewing angle changes before deciding that a visible mark has remained.
If a concern persists after the installer’s cure period, take a clear photograph and contact the installer with the window location and a concise description. Keep the image in your records so you can compare what you saw with any later inspection. Do not pierce bubbles, peel back an edge, or apply a do-it-yourself patch: those actions alter the film and may make the original condition harder to assess. Let the installer advise on the next step for the specific installation.
If a scratch appeared after cleaning, note the cloth and product you used; that detail can help clarify when the mark appeared.